
Add Live Chat to Your Shopify Store
Deploy IMSupporting store-wide on Shopify by adding the snippet to your theme layout file. One placement covers every storefront page including product pages, collections, cart, and checkout.
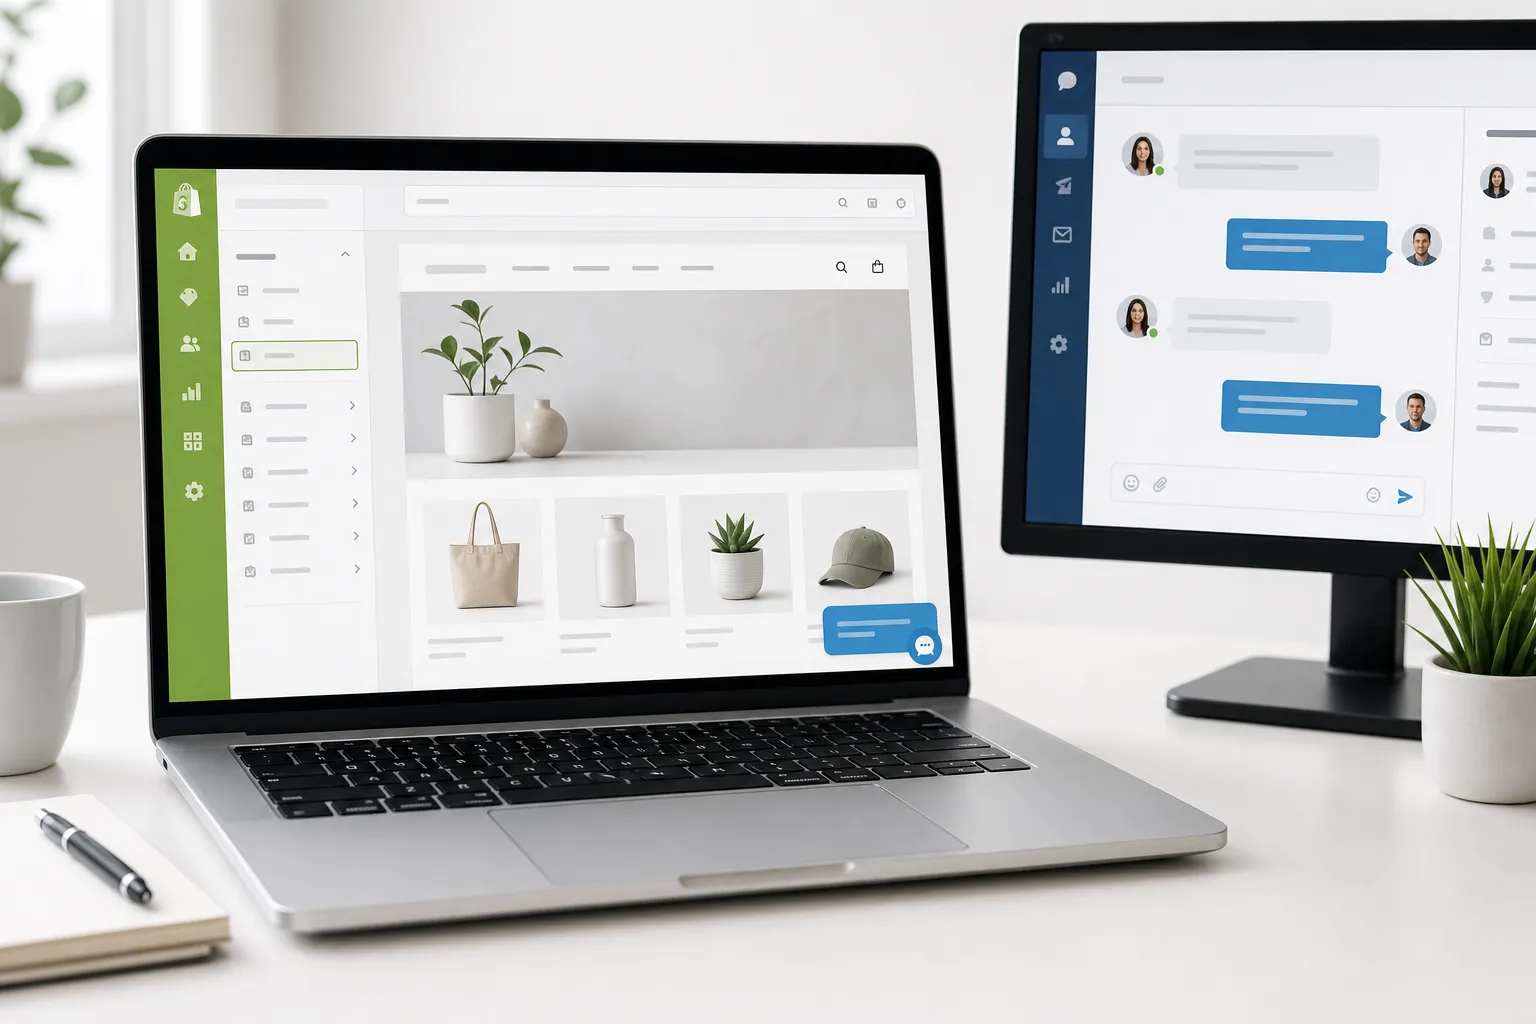
At a Glance — Shopify Install
Get Your IMSupporting Embed Code
Log in to your IMSupporting dashboard and locate your site's widget code. This is the snippet you'll paste into Shopify.
- Sign in at IMSupporting or create a free account.
- Navigate to your site settings and find the embed code or installation guide section.
- Copy the full script snippet — it includes your unique site identifier.
Open Your Shopify Theme Code Editor
- In your Shopify admin, go to Online Store → Themes.
- Next to your active theme, click Actions → Edit code.
- In the Layout folder on the left, open theme.liquid.
Paste the IMSupporting Snippet
- Inside theme.liquid, find the closing
</body>tag near the end of the file. - Paste the IMSupporting script snippet immediately before
</body>. - Click Save in the top-right of the code editor.
</body> quickly inside the code editor.
Test Your Live Shopify Store
- Open your Shopify storefront in a new tab or private window.
- Navigate to a product page, collection page, and the homepage.
- Wait for the IMSupporting chat launcher to appear.
- Send a test message and confirm it arrives in your IMSupporting dashboard.
Troubleshooting & FAQ
The chat widget is not showing on my Shopify store
Check that the snippet is in theme.liquid just before </body>, the file was saved, and your browser is not serving a cached version. Test in a private window.
Should I add the script to every page template separately?
No. Adding it once to theme.liquid covers every page on your storefront because all Shopify pages inherit from the main theme layout.
Will this slow down my Shopify page speed?
The IMSupporting widget is loaded asynchronously so it does not block page rendering. Core Web Vitals impact is minimal.
I use a Shopify app that injects a header — does it conflict?
No. The chat launcher is completely independent of other apps. Placing it near </body> avoids most render-blocking or conflict issues.
Can IMSupporting help with my Shopify setup?
Yes. Use our free integration assistance service and we will validate the placement and test the result on your store.
Ready to Go Live on Shopify?
Once the launcher is live, set up AI responses, configure department routing, and build a workflow so every Shopify visitor gets real-time support.