
Live Chat Installation Guide
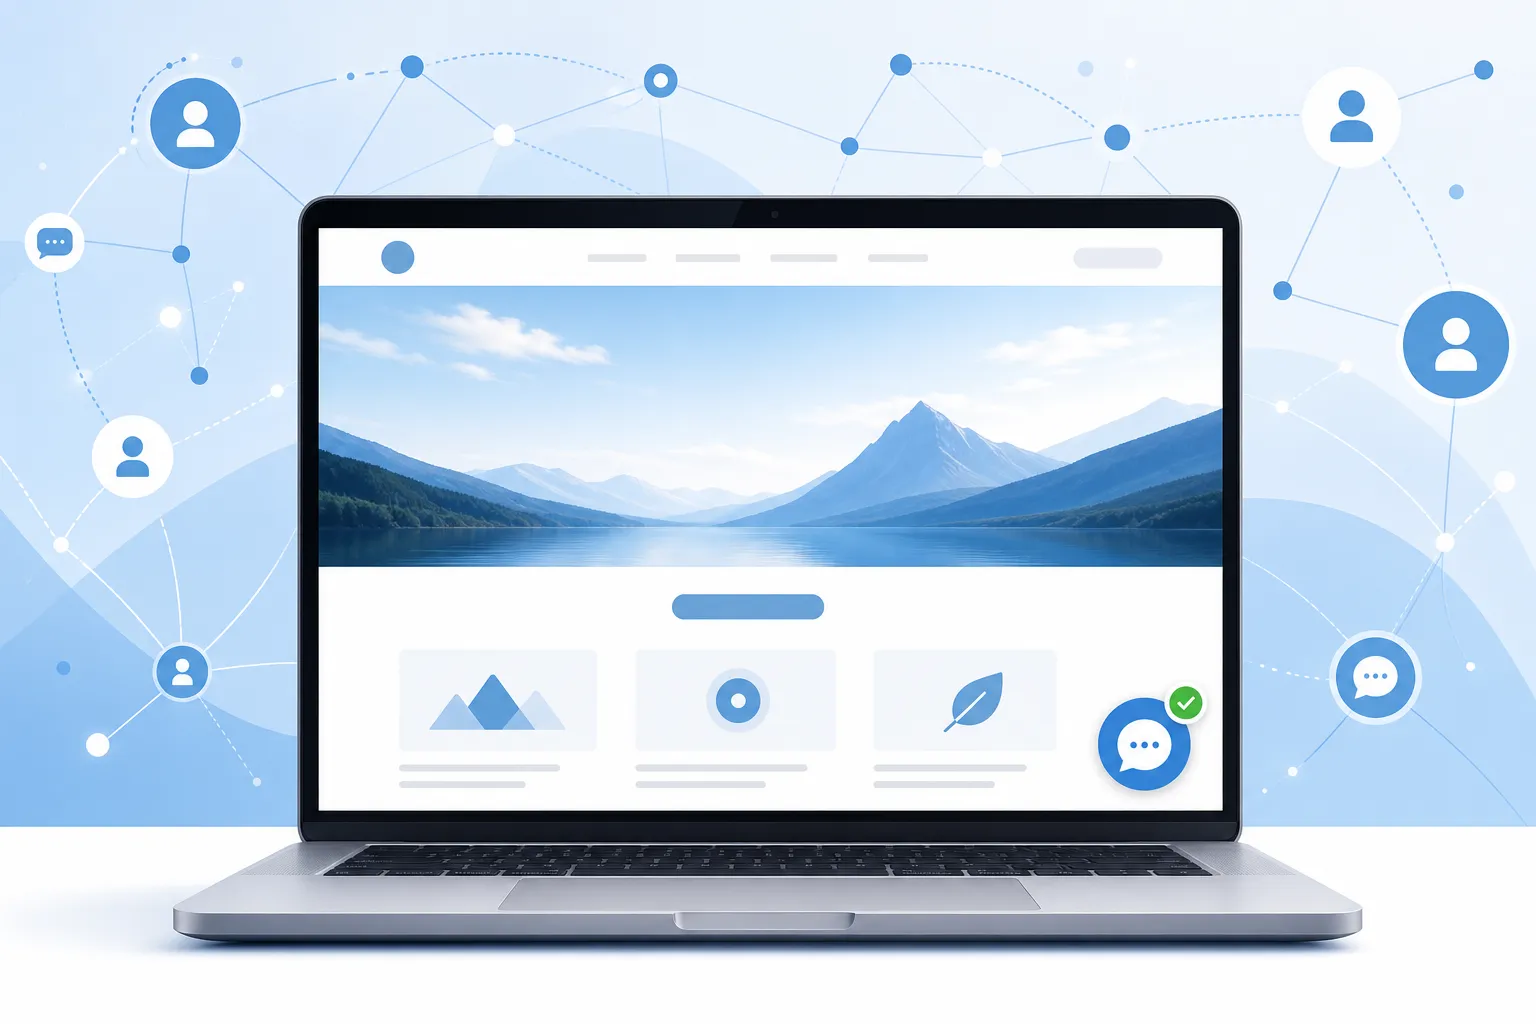
Install IMSupporting live chat on any website or platform. Start with Website Integrations in your dashboard, then follow the guide for your platform.
At a Glance
Install from Your Admin Dashboard
For accuracy and security, always use the integration setup from your own IMSupporting dashboard — it generates settings specific to your account.
- Sign in to your IMSupporting Admin Dashboard.
- Open Website Integrations from the settings menu.
- Select your website platform or preferred integration method.
- Follow the on-screen setup instructions shown for your account.
Platform-Specific Installation Guides
If your platform has a dedicated guide, follow the platform-specific path for the easiest and most accurate installation.
CSP / Security Headers (if used)
If your site enforces a Content Security Policy (CSP), you need to allow IMSupporting domains so the widget can load, connect, and render correctly. Most sites do not need this step.
| CSP Directive | Domain to Allow | Purpose |
|---|---|---|
script-src |
*.imsupporting.com |
Load widget scripts |
frame-src |
*.imsupporting.com |
Chat iframe rendering |
connect-src |
*.imsupporting.com |
API / WebSocket connectivity |
img-src |
*.imsupporting.com |
Widget image assets |
worker-src |
blob: |
Background worker support (if needed) |
Installation FAQ
Where do I get the correct installation method for my account?
Use Website Integrations in your IMSupporting Admin Dashboard. It contains the latest account-specific setup path with settings generated for your account.
Should I use a plugin or manual integration?
If your platform supports an official plugin (e.g. WordPress), use it — plugins handle updates automatically. For other platforms, use the account-specific method shown in Website Integrations or follow the platform-specific guide above.
Do I need CSP changes on every website?
No. CSP updates are only needed if your site already enforces a Content Security Policy. Most standard WordPress, Shopify, Wix, and Squarespace installs do not require CSP changes.
Can I get help with the installation?
Yes. Use the free integration assistance service and the team will validate the correct placement for your specific platform and configuration.
Ready to Get Started?
Create your free IMSupporting account and have live chat running on your website in under 5 minutes.